Introduction
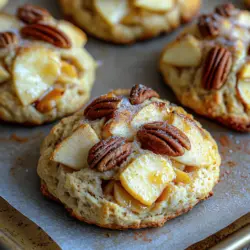
Welcome to the delightful world of baking! Today, we’re excited to share our recipe for Crispy Apple Pie Scones, a scrumptious treat that perfectly marries the cozy, comforting flavors of apple pie with the light, flaky texture of traditional scones. These scones are not just a treat for the taste buds; they are a feast for the senses, making them an excellent choice for breakfast, brunch, or even an afternoon snack with a cup of tea or coffee.
Imagine biting into a warm scone, the buttery, tender pastry crumbling beautifully, releasing the sweet and slightly tart flavor of apples, all wrapped in a hint of cinnamon and nutmeg. Whether you are preparing them for a gathering, a weekend brunch, or simply to enjoy at home, these scones are sure to impress. This article will guide you through the entire process of creating these delightful treats, from understanding their background to detailed step-by-step instructions to ensure your baking success.
Understanding Scones
Before we dive into the recipe, let’s take a moment to appreciate the humble scone. Originating in the United Kingdom, scones have a rich history that dates back to the 1500s. Traditionally served during afternoon tea, they have evolved over centuries, finding their way into the hearts and kitchens of bakers around the world. The classic scone is known for its delightful crumb, which is achieved through a careful balance of ingredients and techniques.
The key elements that define a perfect scone include:
1. Texture: A well-made scone should have a flaky exterior and a tender crumb. The use of cold butter and the right mixing technique is crucial in achieving this desirable texture.
2. Flavor Balance: Scones can be sweet or savory, but regardless of the flavor profile, they need to be balanced. For our apple pie scones, the sweetness of the apples and sugar is complemented by the warmth of spices and the richness of butter.
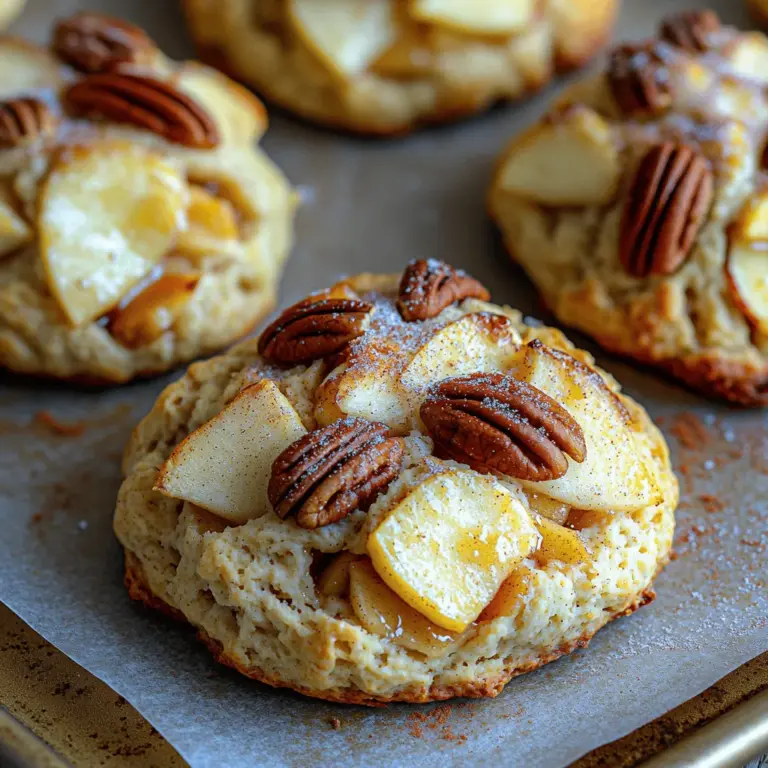
3. Presentation: Aesthetically pleasing scones are a joy to behold. The golden-brown crust, coupled with a dusting of sugar on top, makes for an inviting treat.
As we explore the Crispy Apple Pie Scones, we’ll see how these elements come together to create a deliciously satisfying baked good that pays homage to the classic flavors of apple pie.
Ingredient Breakdown
To create the perfect Crispy Apple Pie Scones, we will need a selection of essential ingredients. Each component plays a vital role in ensuring our scones achieve the desired flavor, texture, and appearance. Let’s break down each ingredient and its significance:
– All-Purpose Flour: This is the backbone of our scone recipe, providing the structure and texture. The right flour can make a significant difference in the final product, so using high-quality all-purpose flour helps achieve the perfect balance between tenderness and sturdiness.
– Granulated Sugar: Sugar does more than just sweeten; it contributes to the browning of the scones, giving them that appealing golden exterior. It also enhances the overall flavor and adds to the delightful sweetness of the apples.
– Baking Powder: As a leavening agent, baking powder is crucial for giving our scones their rise. This ingredient helps create that light, airy texture we all love in a good scone.
– Salt: While it may seem counterintuitive, salt plays a vital role in baking, enhancing flavors and balancing sweetness. A pinch of salt can elevate the overall taste of the scones, ensuring that they are not overly sweet.
– Ground Cinnamon and Nutmeg: These warm spices are the essence of apple pie, infusing our scones with a comforting aroma and flavor. Cinnamon adds warmth, while nutmeg brings a hint of complexity, making these scones reminiscent of a classic apple pie.
– Unsalted Butter: The use of cold unsalted butter is essential for achieving that flaky texture we desire in scones. When incorporated into the flour, it creates pockets of fat that lead to a tender crumb.
– Buttermilk: This ingredient adds moisture and richness, resulting in a softer scone. The acidity in buttermilk also activates the baking powder, contributing to the leavening process.
– Apples: For our scones, we recommend using Granny Smith apples. Their tartness contrasts beautifully with the sweetness of the sugar, making for a deliciously balanced flavor profile.
– Nuts (Optional): Chopped pecans or walnuts can be added for an extra crunch and nutty flavor. They complement the apple filling beautifully, adding texture and depth to the scones.
– Egg Wash and Sugar Topping: An egg wash brushed on before baking ensures a shiny, golden crust, while a sprinkle of sugar on top adds a delightful crunch and sweetness.
With these ingredients in hand, we are ready to embark on our scone-making journey, combining the comforting flavors of apple pie with the delightful texture of scones.
Step-by-Step Instructions
To ensure your success in making Crispy Apple Pie Scones, we will provide a detailed guide that covers each step. Let’s begin with the first crucial step in our baking process:
Preheating the Oven
Before you start mixing ingredients, it’s essential to preheat your oven. This step is critical for even baking, ensuring that your scones rise properly and develop a beautiful golden crust. Set your oven to 400°F (200°C) and allow it to preheat while you prepare the scone dough. Preheating the oven not only prepares it for baking but also creates the right environment for the chemical reactions that occur during baking, resulting in perfectly fluffy scones.
Now that we have laid the groundwork, we can proceed with the detailed steps for making your Crispy Apple Pie Scones. Stay tuned for the next part of this article, where we will dive into the mixing and baking process, ensuring you achieve scone perfection!
Mixing Dry Ingredients
The first step in creating your Crispy Apple Pie Scones involves mixing the dry ingredients. This process is crucial for ensuring that your scones have a uniform texture and flavor. Begin by combining all-purpose flour, baking powder, sugar, cinnamon, nutmeg, and a pinch of salt in a large mixing bowl. The role of each ingredient is essential: flour provides structure, baking powder acts as a leavening agent, while sugar and spices contribute to the overall flavor profile. Make sure to whisk these ingredients thoroughly, as this helps to evenly distribute the leavening agent and spices, preventing any clumping that could lead to uneven baking.
Cutting in Butter
Next, you’ll need to cut in the butter, a technique that’s key to achieving that delightful crumbly texture synonymous with scones. Use cold, unsalted butter for best results. Cut the butter into small cubes and add it to the dry mixture. Employ a pastry cutter or your fingertips to work the butter into the flour until the mixture resembles coarse crumbs. The goal here is to keep some small pieces of butter intact, as they will create steam during baking and contribute to the scones’ flakiness. Avoid overworking the dough; the butter should remain somewhat visible for optimal texture.
Combining Wet Ingredients
In a separate bowl, combine the wet ingredients: milk, an egg, and vanilla extract. Whisk these together until well mixed. The wet ingredients not only add moisture but also help bind the dry ingredients together. Once your wet mixture is ready, create a well in the center of the dry ingredients and pour the wet mixture in. Gently stir with a spatula or wooden spoon until just combined. At this stage, it’s crucial to avoid overmixing, as this can lead to dense scones. You want the dough to be slightly shaggy but coherent.
Forming the Dough
When it comes to forming the dough, handle it gently. Turn the mixture out onto a floured surface and lightly knead it just a few times to bring it together. The key is to maintain tenderness, so be careful not to overwork the dough. If the mixture feels too dry, you can add a splash more milk, but be cautious not to make it too wet. Once the dough is cohesive, fold in the diced apples. This is where the apple pie flavor truly comes to life, so ensure that the apples are evenly distributed throughout.
Shaping and Cutting
To shape your scones, pat the dough into a circle about 1-inch thick on a lightly floured surface. Using a sharp knife or a pastry cutter, cut the dough into wedges. A typical approach is to cut it into 8 equal pieces, which ensures even baking. If you prefer, you can also use a biscuit cutter to create round scones. The important part is to avoid twisting the cutter, as this can seal the edges and prevent the scones from rising properly.
Preparing for Baking
Before baking, prepare the scones for the oven with an egg wash. Whisk one egg with a tablespoon of milk and brush this mixture over the tops of the scones. This step not only gives the scones a beautiful golden color but also helps any sugar topping adhere. For an extra touch of sweetness and texture, sprinkle coarse sugar on top. This will create a delightful crunchy crust once baked.
Baking
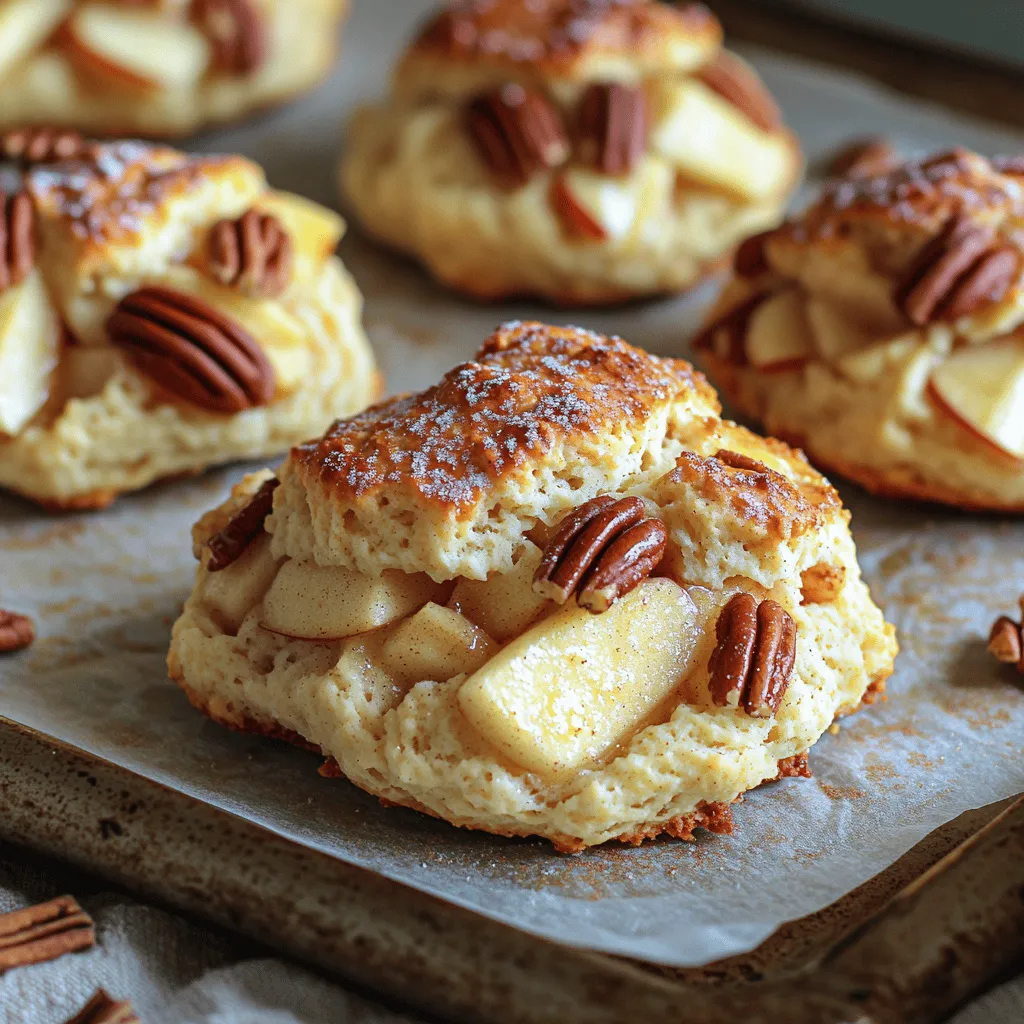
Preheat your oven to 400°F (200°C) and line a baking sheet with parchment paper. Place the scones about 2 inches apart to allow for expansion during baking. Bake for 15-20 minutes, or until the scones are golden brown and a toothpick inserted into the center comes out clean. Keep an eye on them during the last few minutes to avoid overbaking. The visual cue of a golden crust and a slight rise will let you know they are ready to be removed from the oven.
Cooling and Serving
Once baked, transfer the scones to a wire rack to cool for about 10 minutes. This cooling period allows the steam to escape, preventing sogginess. Serve your Crispy Apple Pie Scones warm or at room temperature. They are delightful on their own, or you can enhance the experience with a pat of butter or a drizzle of honey. For a more indulgent touch, consider a simple glaze made from powdered sugar and milk.
Flavor Variations and Customizations
While the classic apple pie flavor is hard to beat, there are numerous variations you can explore to keep things exciting.
– Fruit Options: Try substituting the apples with other fruits like pears, peaches, or berries. Each fruit will impart its unique flavor and moisture content, allowing you to create a whole new experience with every batch.
– Spice Adjustments: Feel free to adjust the spices according to your taste. Adding ginger or cardamom can give your scones an interesting twist, while omitting cinnamon will result in a more neutral flavor that allows the fruit to shine.
– Alternative Nut Choices: Incorporate different nuts such as walnuts or pecans for added crunch and flavor. If you prefer a nut-free option, simply omit the nuts or substitute them with seeds for added texture.
Pairing Suggestions
To elevate your scone experience, consider pairing them with complementary beverages and toppings.
– Beverage Pairings: A warm cup of tea, coffee, or hot chocolate makes for a perfect companion to your scones. Try pairing them with a spiced chai tea or a rich dark roast coffee to enhance the cozy vibe.
– Toppings and Spreads: While the scones are delicious on their own, a spread of butter, a drizzle of honey, or even a simple glaze can take them to the next level. For a fruity twist, consider a homemade apple butter or spiced cream cheese spread.
Nutritional Information
Understanding the nutritional content of your Crispy Apple Pie Scones can help you enjoy them mindfully. Each scone typically contains around 200-250 calories, depending on the size and specific ingredients used. They are a good source of carbohydrates and provide a moderate amount of fat due to the butter. You can make adjustments to reduce calories or fat by using alternatives like unsweetened applesauce in place of some butter or choosing a lower-fat milk.
Conclusion
Crispy Apple Pie Scones are a delightful addition to any breakfast or snack table, combining the comforting flavors of apple pie with the light, flaky texture of scones. With this comprehensive guide, you are well-equipped to create these mouthwatering treats in your own kitchen. Enjoy the process of baking and the joy of sharing these delicious scones with family and friends. Let your culinary creativity shine as you experiment with flavors, pairings, and presentations. Happy baking!